
Damage-prevention guide
How to protect patio pointing when pressure washing
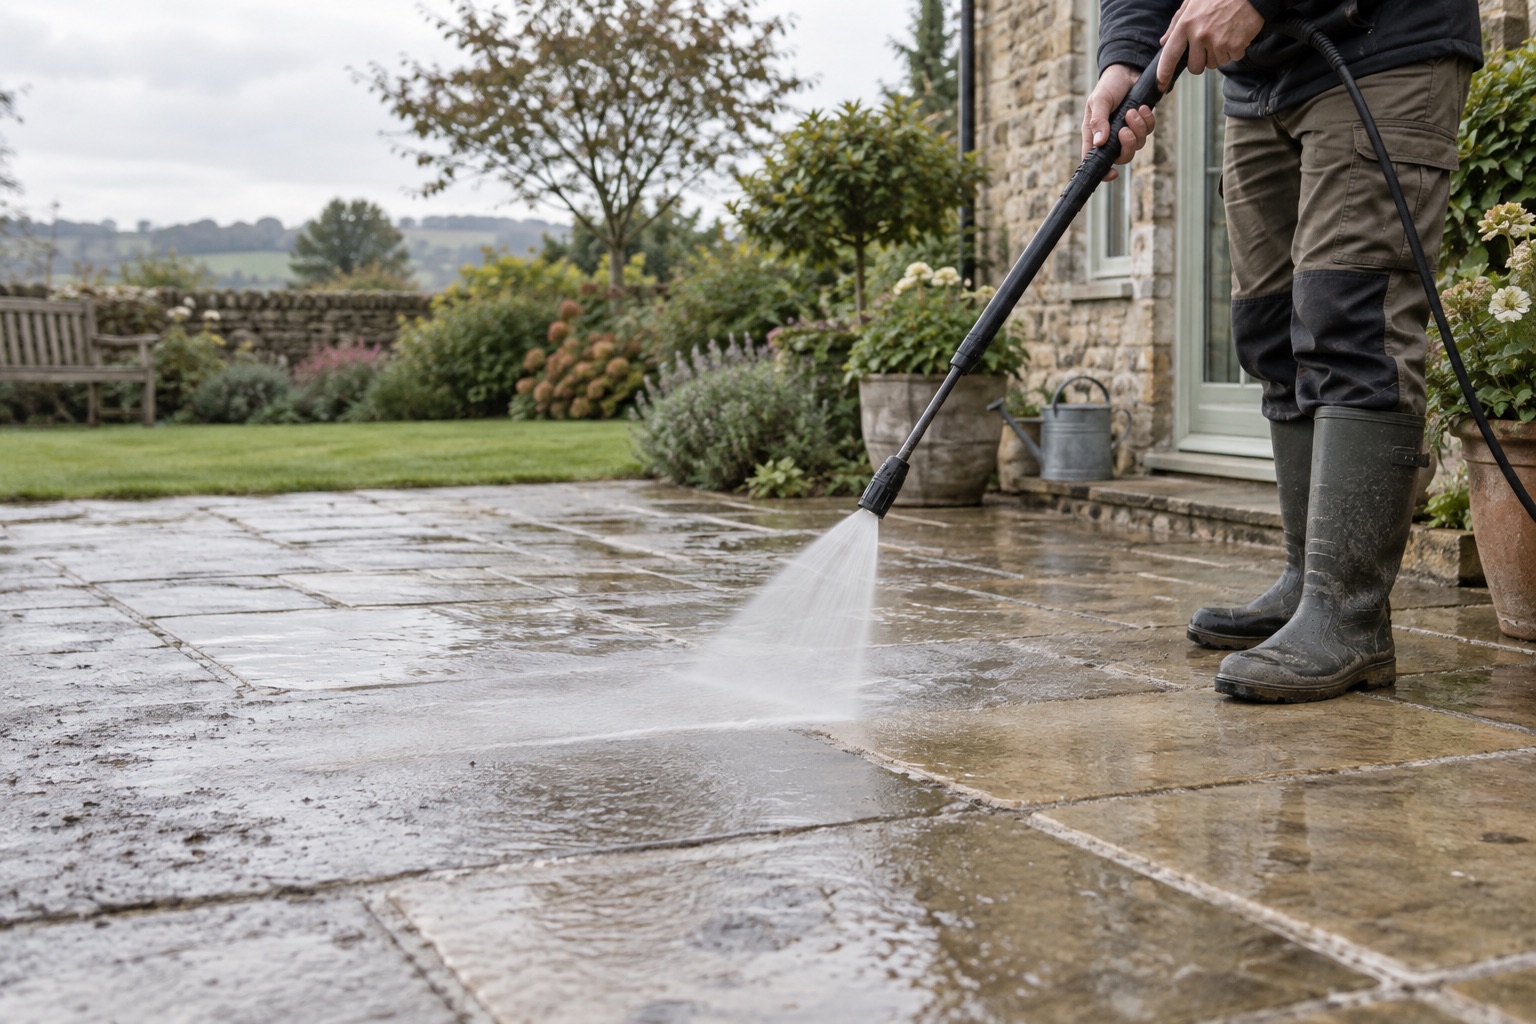
Protect mortar and patio joints by inspecting first, reducing pressure, crossing joints correctly and repairing weak pointing before cleaning.
Useful products for the job
Consider a low-impact growth treatment
On label-approved paving, treatment may reduce the temptation to aim a close jet into vulnerable joints.
 View product on Amazon
Wet & Forget Outdoor Cleaner 5L
Best for: Label-approved outdoor surfaces with algae, mould or lichen
A concentrated outdoor treatment for organic growth on many exterior surfaces. It is a treatment, not an instant pressure-washing substitute; follow the label for dilution, weather and runoff.
Check the exact surface and any sealer with the maker before use; keep it out of ponds and follow plant and pet precautions.
- 5 l concentrate
- Outdoor surfaces
- Organic growth
- Label-led dilution
Before water pressure
Test the pointing with your eyes, not the lance
Walk every joint while the patio is dry. Look for gaps, cracks, weed roots, hollow edges, moss hiding loose material and previous patch repairs. Lightly brush suspect areas. If the joint crumbles under a hand brush, it is not ready for pressure washing.
Pointing supports the slab edges and limits water and debris entering the bed. Removing weak material can turn a cosmetic clean into a repair job, so isolate damaged areas and decide whether to clean the rest manually.
| Joint condition | Machine cleaning | Preferred action | Warning sign |
|---|---|---|---|
| Firm and complete | Possible with controlled fan | Cross diagonally at distance | New grains in runoff |
| Hairline crack | Avoid direct pressure | Monitor or obtain repair advice | Crack widening |
| Loose or crumbling mortar | Not suitable | Repair before cleaning | Pieces lifting by hand |
| Resin jointing compound | Check product guidance | Use approved maintenance method | Softening or loss |
| Block-paving sand | Expect displacement | Plan compatible re-sanding | Open empty joints |
Five ways to reduce damage to patio joints
- Fit a broad fan or variable lance and begin at the lowest useful setting.
- Keep the nozzle farther away at joints and slab edges.
- Cross each joint diagonally rather than tracing along it.
- Keep moving so water does not enter one point repeatedly.
- Stop and inspect the runoff if you see sand, grains or fragments.
A surface-cleaner head fixes jet height more consistently on flat paving, but it also hides the jets. Do not run it over a joint you have not inspected, and do edges separately with a visible low-pressure fan.
Know what fills the joints
Cement mortar
Sound mortar may tolerate a quick diagonal pass, but cracked or shallow pointing should be repaired first. Old mortar can be softer than it appears when wet.
Resin or brush-in compound
Follow the compound manufacturer’s maintenance instructions. Age, curing, installation depth and chemical exposure can change its resistance.
Kiln-dried sand
Block paving relies on jointing sand rather than hard mortar. Cleaning can remove it, so allow the paving to dry fully and replace the correct sand as required. Do not substitute mortar.
Control over force
Choose adjustment you can use while working
The Kärcher K 4’s adjustable 20–130 bar output gives a clear low starting point, while the Nilfisk Core 140 emphasises power control in a lighter trolley format. The useful feature here is not the maximum number—it is the ability to back off as the lance reaches edges and joints.
 View product on Amazon
Kärcher K 4 Power Control Flex
Best for: Mixed household cleaning where control and an 8 m flexible hose matter
A balanced mains machine for patios, cars and general outdoor work. Its useful advantage is not extreme pressure but adjustable output, a flexible 8 m hose and a stable mid-range flow rate.
What stands out
- 20–130 bar adjustment
- 8 m PremiumFlex hose
- 420 l/h maximum flow
Keep in mind
- The base package does not include a surface cleaner
- At 12.1 kg before accessories it is not the lightest option
- 20–130 bar
- 420 l/h
- 8 m hose
- Mains · 1.8 kW
 View product on Amazon
Nilfisk Core 140 PowerControl
Best for: Users who value in-hand adjustment and a lighter trolley format
A light trolley-format washer with power adjustment for mixed-garden jobs. The current Amazon page conflicts on supplied hose length, so confirm the exact bundle before buying it for reach.
What stands out
- Power adjustment
- Compact trolley format
- Useful mid-range output
Keep in mind
- Bundles differ between retailers
- A surface cleaner may still be an extra purchase
- 140 bar max
- 40 m²/h listed
- Confirm hose length
- Mains · 1.8 kW
See patio pressure washers compared and the complete safe patio method.
Wait for full drying before making good
After cleaning, rinse away loose residue and let the paving and bed dry. Inspect again in good light. Match the repair material to the original installation and follow its minimum depth, weather, curing and access requirements. If slabs move, water sits beneath them or failures are widespread, ask a paving professional to diagnose the base rather than repeatedly patching the surface.
Marshalls’ aftercare guidance recommends inspecting paving joints as part of routine care; its commercial maintenance guidance also says joints should be checked after cleaning and appropriate material replaced after drying.
Frequently asked questions
Will a pressure washer remove patio pointing?
It can remove weak mortar, resin compound or block-paving sand, especially with a close or concentrated jet. Inspect first and cross joints gently.
Can I pressure wash newly pointed paving?
Only after the jointing product has fully cured and its manufacturer permits it. Follow the installer’s and product’s stated curing conditions.
Should I repoint before or after cleaning?
Repair joints that make cleaning unsafe first. Final making-good may follow cleaning once the patio is dry, depending on the specified jointing system.
Is a surface cleaner safer for pointing?
It can keep jet height even, but it does not make weak joints safe and can hide what the jets are doing. Inspect every route first.
What should I do if pointing starts coming out?
Stop immediately, switch to manual cleaning and let the area dry. Identify the joint material and extent of failure before repairing.